I had a lot of fun today working with ink refills and thought it would make a great Technique Challenge. We’ve done the ink refills on the cotton balls along with alcohol for the Polished Stone look. Now this one has so much potential!! Here’s how to do it:
1. Take a piece of photo paper or glossy card stock. I took a piece of photo paper for mine. Lindsay W. from our group said in one of her Ask A Crafter segments that photo paper dries faster than glossy card stock. I just had my photo paper at hand so I used that.
2. Either get out your craft sheet (if you have one) or get out a piece of wax paper. You are going to put your ink on that. For those who don’t know what a craft sheet is, it’s very similar to a Silpat (if you do any baking). It’s a silicon mat that just wipes clean with no muss, fuss, or bother. Just don’t cut on it.
3. This first example is using the craft sheet. I put 1 small “blob” of pink pigment in one area, one small “blob” of yellow dye-based ink in another area and in the third area I put 1 small “blob” of lavender pigment ink.

That white piece above is my photo paper.
4. Place your photo paper (a little larger than the size you want if you feel you might need to cut some off) down on the ink and move it around. Don’t move it around too much but just enough to get the ink on the paper. The more you move it, the more the colors go together. Here’s my first swipe:

5. I then put the remaining white areas back down again and just dabbed so I didn’t create more of that dark brown/black area. Here’s my finished piece:

Now you might think that you are wasting the remaining ink on the Craft Sheet but wait!! You can stamp with it!! I took this stamp:

And set it down into the ink on the Craft Sheet and then stamped it on another piece of the photo paper. In fact I did two images with the leftover ink:

Once those dry, I’ll make cards with them to share.
I tried it with the wax paper as well but learned something on that experiment. I put the pink pigment ink down first and made kind of a swirl pattern with the ink on the wax paper. I put the yellow dye-based ink in the center of the swirl (all was well to that point). Then I took a green dye-based ink and put it next to the pink and the thing took off!! The green started spreading through the pink, turning it dark – almost black. By the time I got my camera up, only a small corner of the pink still showed pink (you can see how it is wicking up the pink – all the black area you see is really pink underneath and the green area you see is really the yellow):

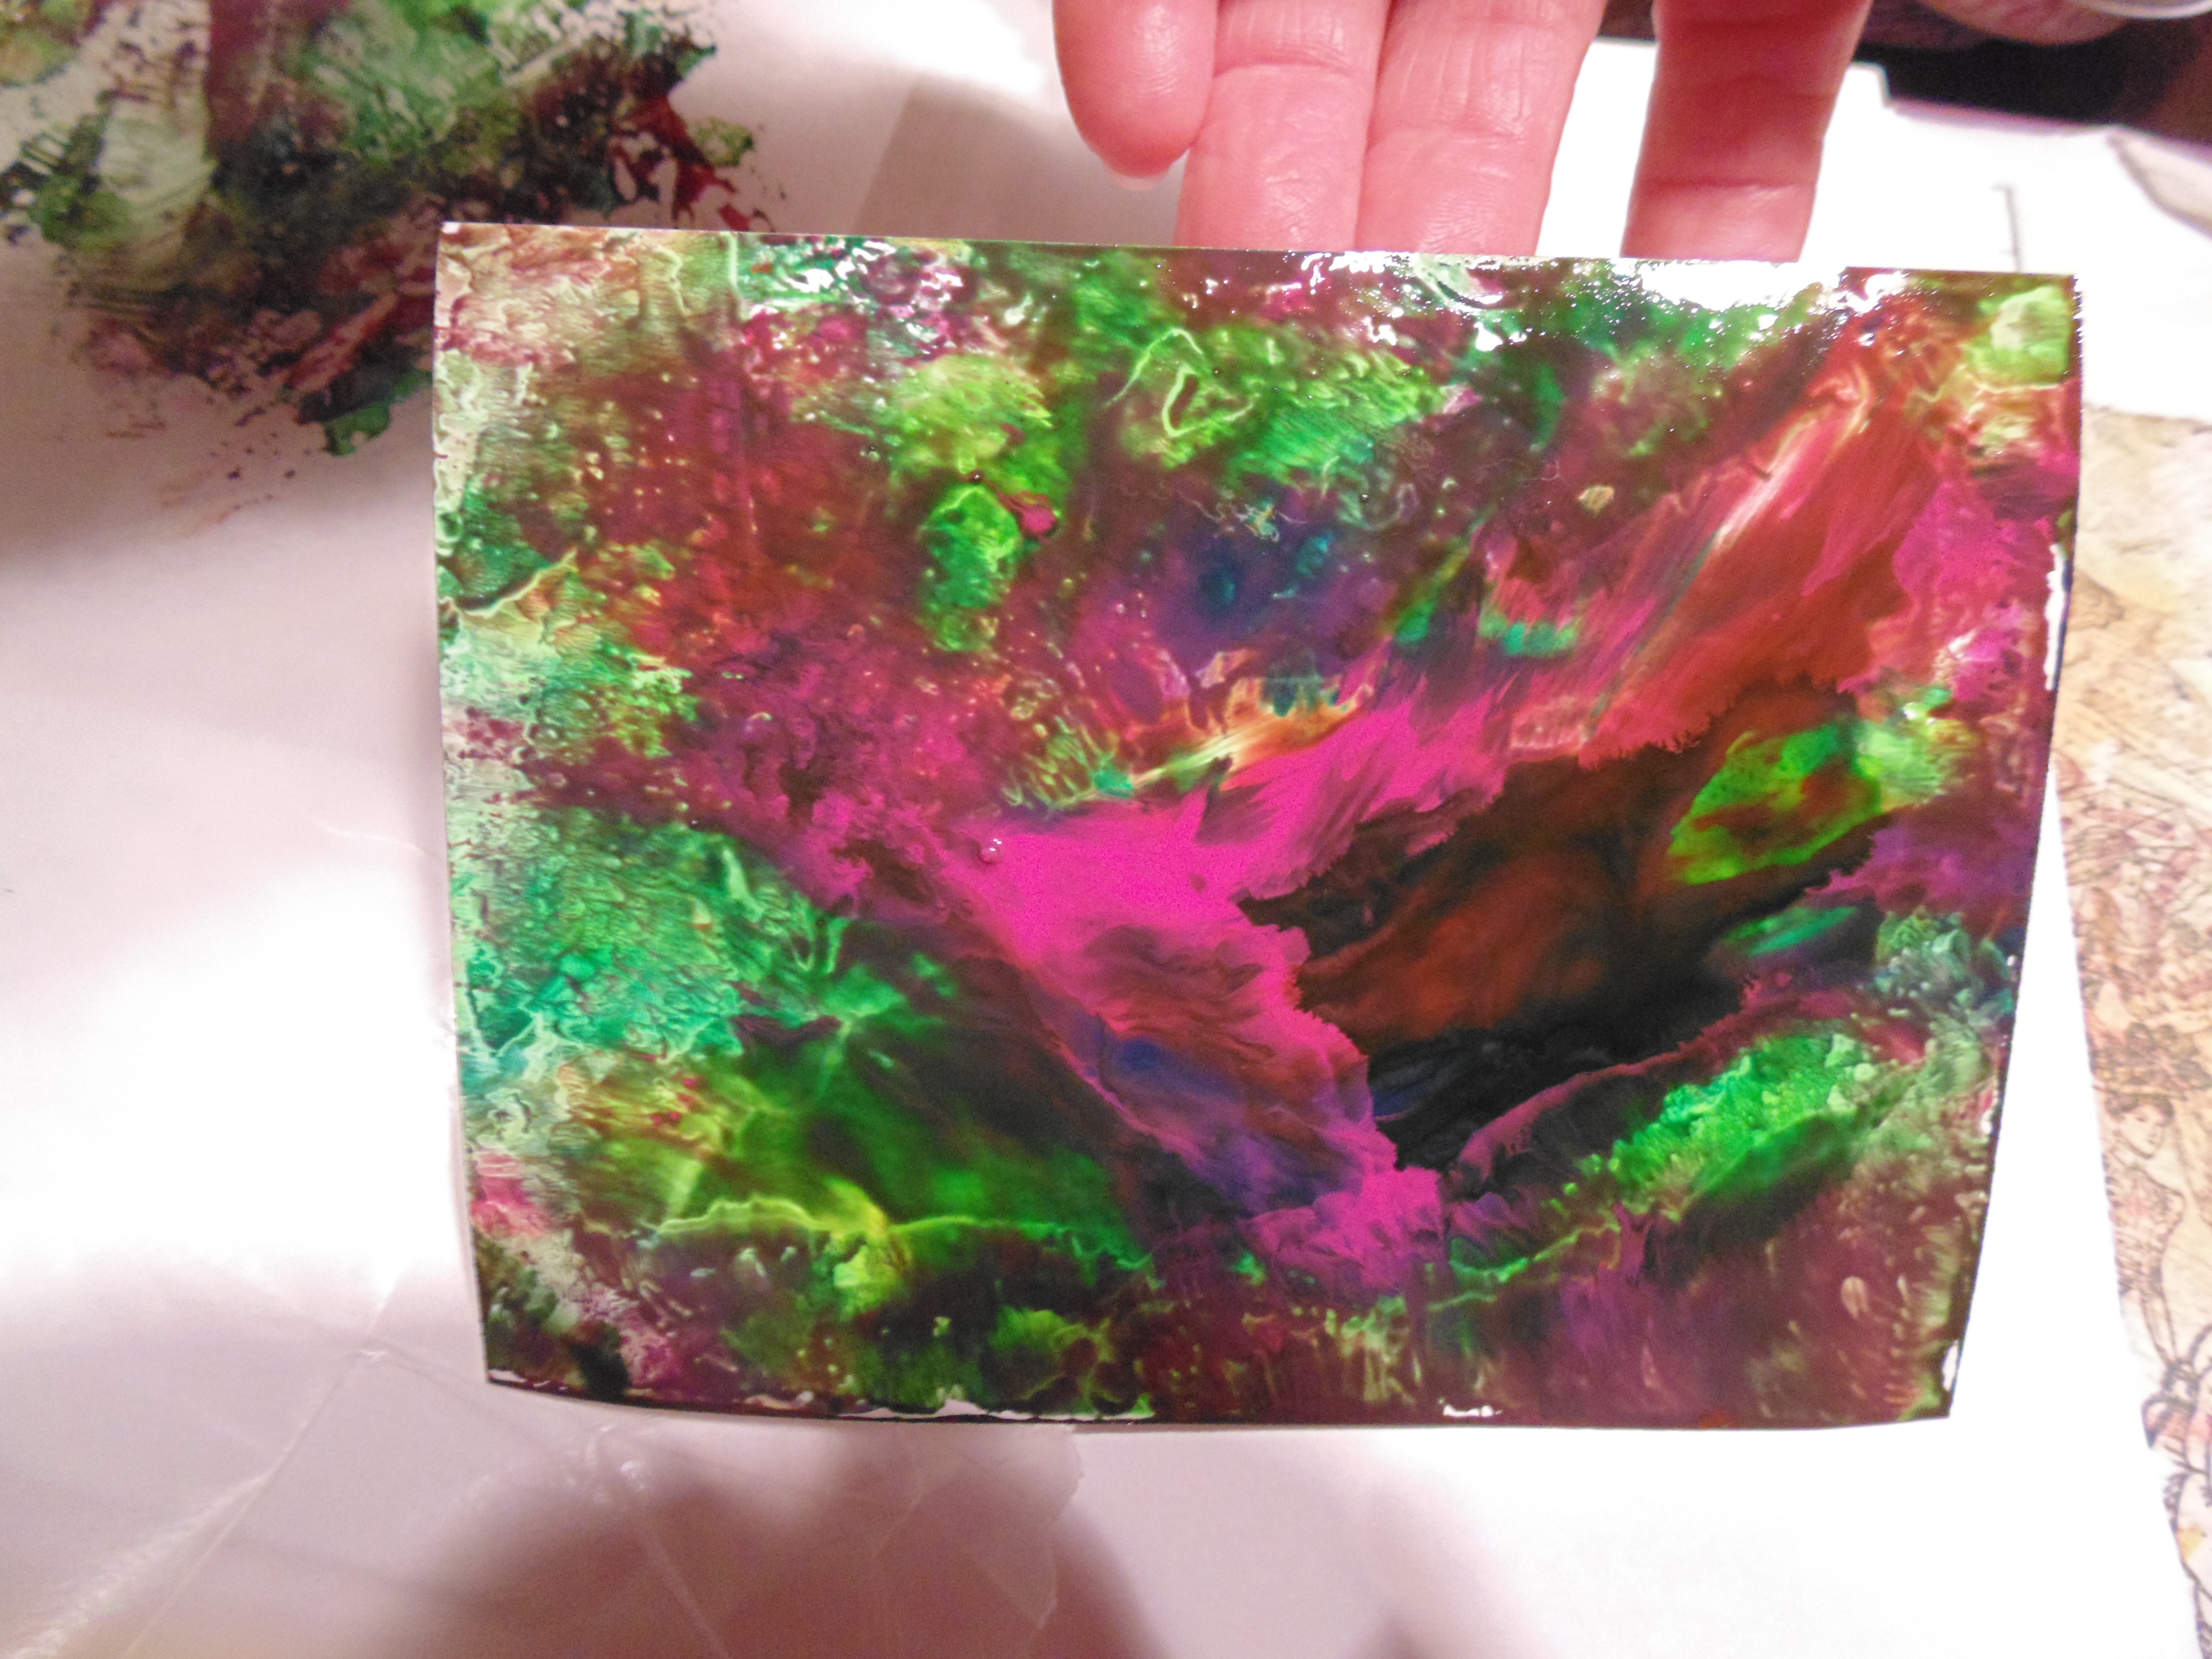
But you know, even though they touched and did that, here’s how the photo paper came out:
I wore one latex glove while working with these and found I could dab with the glove the areas that were still white to give them some color and not smear everything. It also kept my fingers clean.
Can’t wait to make cards with these. Doesn’t the last one above show depth – like you are looking through a hole – maybe underwater? Can you see a Koi swimming around on the paper above? Maybe even a little vellum to see through? Lots of potential!!
Let your imagination run wild and make your background with your inks. Try pigments, dyes, or a combination of both as I did. Now pigments don’t dry on the photo paper so either emboss it or heat-set it. Be careful heat-setting on photo paper – heat from the bottom, then the top, and back again and don’t do too long or the paper will bubble.
-

- Barb B.
-

- Barb I.
-

- Carolyn S. cards
-

- Carolyn S. backgrounds
-

- Chris B.
-

- Jan C.
-

- Veronique L.
-

- Mary R. #1
-

- Mary R. #2
-

- Monica H.
-

- Peg K.
-

- Sandy N.
-

- Shaz in Oz Background
-

- Shaz in Oz cards
-

- Margo (Rli) S. Background #1
-

- Margo (Rli) S. Background #2
-

- Margo (Rli) S. card #2
-

- Margo (Rli) S. card #1